Are you searching for a show-stopping dessert that requires minimal effort but delivers maximum deliciousness? Look no further than the humble yet utterly irresistible Oreo truffle. These no-bake delights are a testament to culinary simplicity, blending the iconic crunch of Oreo cookies with rich, creamy cream cheese, all enveloped in a luscious chocolate coating. But why settle for one kind of chocolate magic when you can explore two? Dive into the delightful world of oreo truffles two ways, where we compare classic milk chocolate with elegant white chocolate coatings, helping you master the art of this crowd-pleasing treat.
Whether you're planning a sophisticated dinner party, a casual get-together, or simply indulging your own sweet cravings, Oreo truffles fit every bill. They’re small, perfectly portioned, and encapsulate pure joy in every bite. And the best part? They're surprisingly easy to make, transforming a handful of ingredients into a dessert that looks like it came straight from a gourmet bakery.
The Undeniable Allure of Oreo Truffles: A No-Bake Marvel
Oreo truffles have soared in popularity for good reason. They offer a luxurious taste experience without the need for an oven, making them accessible to even the most novice bakers. The magic lies in the core mixture: finely crushed Oreo cookies (cream filling included!) combined with softened cream cheese. This creates a dense, fudgy, and intensely flavorful base that is robust enough to hold its shape and serve as the perfect canvas for your chosen chocolate coating.
Imagine the delightful contrast: the slight bitterness and crunch of the dark chocolate cookie crumbs perfectly balanced by the sweet, tangy cream cheese. It’s a texture and flavor symphony that’s hard to beat. And with a total time of just about an hour from prep to chill, you can whip up Oreo truffles in 1 hour, making them ideal for last-minute dessert emergencies or spontaneous celebrations.
Crafting the Perfect Oreo Truffle Base: A Step-by-Step Guide
Before we delve into the exciting world of chocolate coatings, let’s perfect the foundation. The key to exceptional truffles lies in a well-prepared base. Here's what you'll need and how to do it:
Ingredients for the Base:
- 1 package (15.35 ounces) Oreo cookies: Classic Oreos are perfect, but feel free to experiment with different flavors like peanut butter, mint, or golden Oreos for unique twists.
- 8 ounces cream cheese, softened: Crucial for a smooth, homogenous mixture.
Directions for the Base:
- Crush the Oreos: In a food processor, pulse the entire package of Oreo cookies (yes, cream filling and all!) until they become fine, powdery crumbs. This usually takes 1-2 minutes. If you don't have a food processor, place the cookies in a large Ziploc bag, seal it, and crush them with a rolling pin or the bottom of a heavy pan until equally fine.
- Combine with Cream Cheese: Transfer the crushed Oreos to a large mixing bowl. Add the softened cream cheese. It’s vital that the cream cheese is at room temperature to ensure it blends seamlessly without lumps.
- Mix Thoroughly: Use a sturdy spoon, a stand mixer with a paddle attachment, or even your clean hands to blend the mixture until it’s completely combined and forms a thick, pliable "dough." It should hold together easily when pressed.
- Roll into Balls: Scoop out about a tablespoon of the mixture for each truffle and roll it into a 1-inch ball. Place these balls on a baking sheet lined with parchment paper. You should yield approximately 24 truffles.
- Chill for Firmness: Pop the baking sheet into the refrigerator for at least 30 minutes. This chilling step is non-negotiable! It firms up the truffle balls, making them much easier to dip in melted chocolate without falling apart.
The Main Event: Oreo Truffles Two Ways – A Chocolate Coating Showdown
This is where your Oreo truffles transform from delicious balls of goodness into truly irresistible confections. The choice of chocolate coating significantly impacts the final taste and appearance. We're pitting two popular choices against each other: the comforting classic milk/semi-sweet chocolate and the subtly sweet, visually striking white chocolate. This comparison will guide you in choosing the perfect finish for your Oreo Truffles Two Ways: Easy No-Bake Recipe for Any Occasion.
Ingredients for Coatings:
- 16 ounces melted chocolate: You'll divide this if making both coatings.
- For the "Two Ways": 8 ounces milk or semi-sweet chocolate, and 8 ounces white chocolate.
1. The Classic Choice: Milk or Semi-Sweet Chocolate
Dipping your Oreo truffles in traditional milk or semi-sweet chocolate offers a universally loved experience. This coating provides a familiar, rich chocolate flavor that perfectly complements the Oreo cookie and cream cheese base.
- Taste Profile: Milk chocolate brings a creamy, sweet, and comforting note, while semi-sweet chocolate offers a slightly deeper, less sugary experience with hints of cocoa bitterness. Both meld beautifully with the existing flavors of the truffle.
- Aesthetic: A dark, glossy finish that signifies a classic chocolate indulgence. It creates a striking contrast with any lighter toppings you choose.
- Melting & Dipping Tips:
- Use good quality chocolate chips or melting wafers for the best results.
- Melt the chocolate gently in the microwave in 30-second intervals, stirring thoroughly after each, until smooth and silky. Be patient to prevent burning.
- A fork is your best friend for dipping! Spear a chilled truffle ball, immerse it completely in the melted chocolate, then lift and gently tap the fork against the edge of the bowl to remove excess.
2. The Elegant Alternative: White Chocolate
For a truffle that stands out visually and offers a different flavor dimension, white chocolate is an excellent choice. It’s often considered the "secret weapon" for adding a touch of sophistication.
- Taste Profile: White chocolate, while not technically chocolate (as it contains no cocoa solids), offers a distinct sweet, creamy, and vanilla-forward flavor. It provides a delightful counterpoint to the dark intensity of the Oreo base, creating a balanced and often surprisingly bright taste. It’s perfect for those who prefer a less intense chocolate experience or a sweeter dessert.
- Aesthetic: A pristine, elegant white coating that serves as a beautiful backdrop for colorful sprinkles, contrasting crushed Oreos, or even drizzles of dark chocolate. It immediately elevates the truffles' appearance.
- Melting & Dipping Tips:
- White chocolate can be more temperamental to melt than milk or dark chocolate. Go slow and low with heat. Overheating can cause it to seize and become grainy.
- Add a teaspoon of coconut oil or vegetable shortening to the white chocolate while melting to make it smoother and easier to work with, preventing it from becoming too thick.
- Ensure your truffle balls are very cold when dipping in white chocolate to minimize melting.
Beyond the Basics: Which Coating to Choose?
The choice between milk/semi-sweet and white chocolate often comes down to personal preference and the occasion. For a classic, rich, and crowd-pleasing dessert, opt for milk or semi-sweet. For something a little more unique, visually striking, and distinctly sweet, white chocolate is your go-to. Why not do half and half for a diverse platter that caters to all tastes?
Decorating Your Masterpieces: Finishing Touches
Once your truffles are dipped, the fun isn't over! Before the chocolate sets, it's time to add your personal flair. This is where you can truly make your oreo truffles two ways shine:
- Crushed Oreos: Sprinkle a few extra crushed Oreo crumbs on top of the still-wet chocolate for an instant visual cue and added texture.
- Sprinkles: Rainbow sprinkles, themed sprinkles (e.g., red and green for holidays), or metallic sprinkles can add a festive touch.
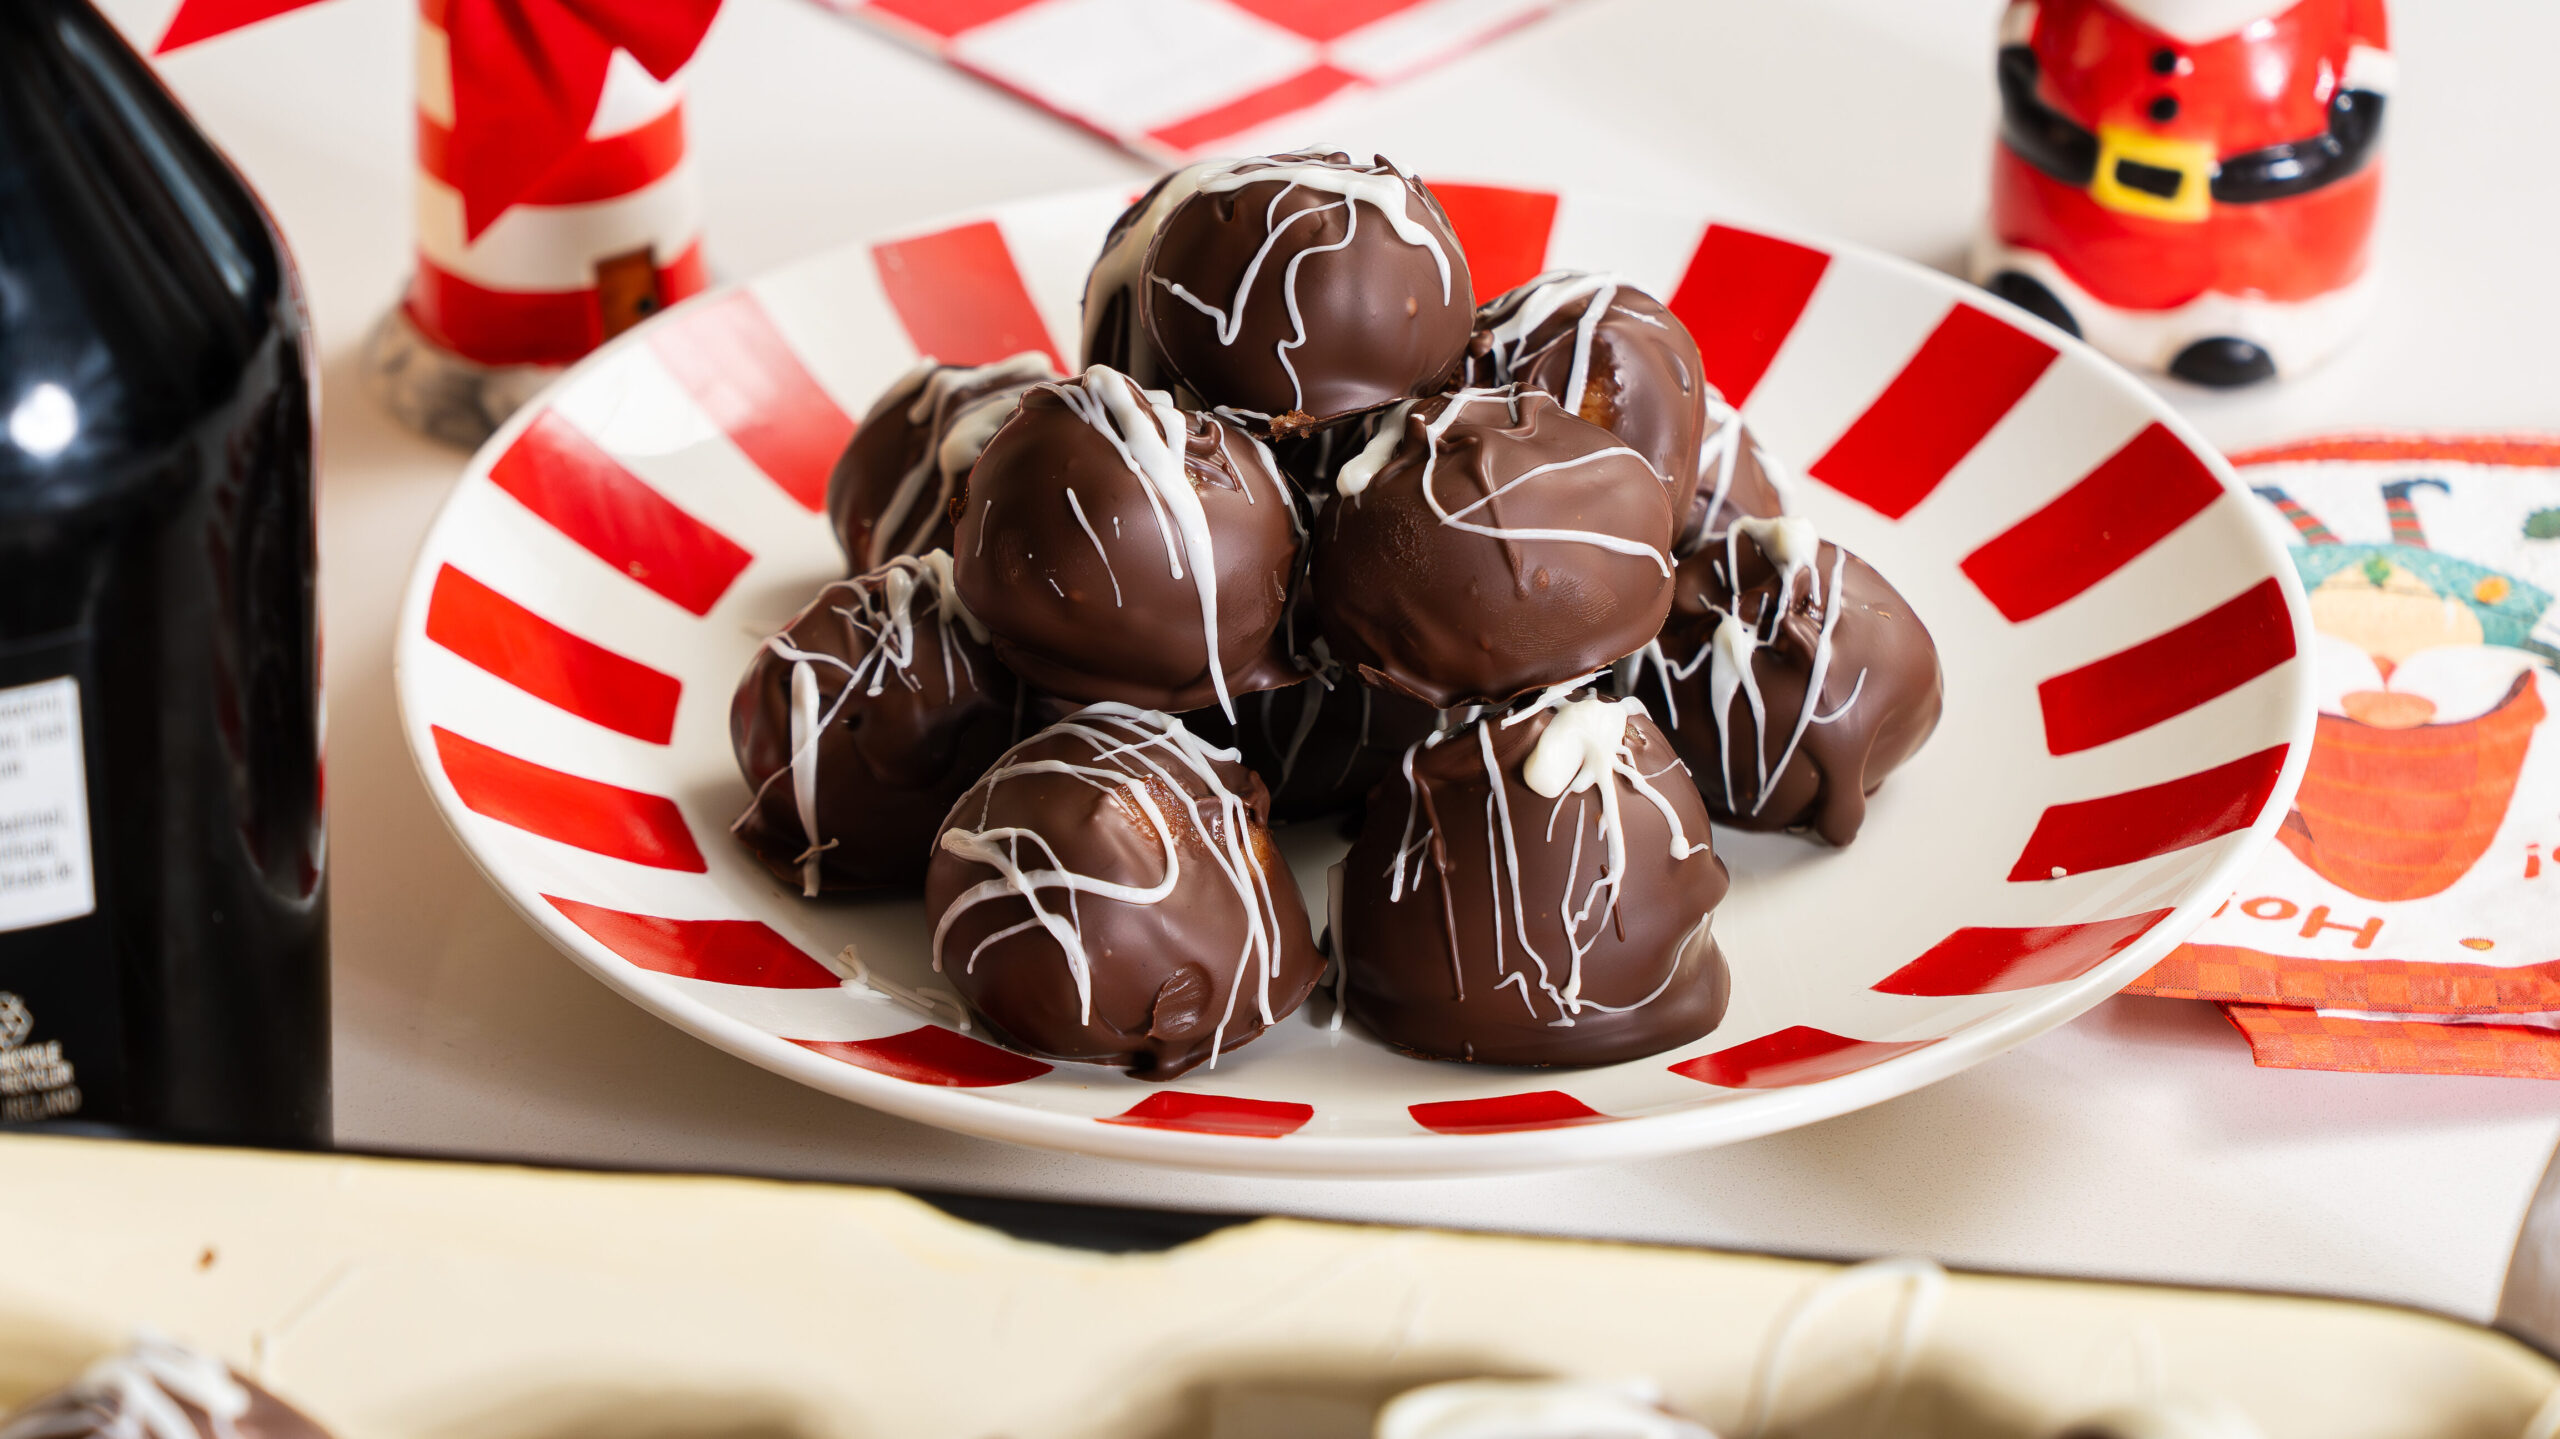
- Chocolate Drizzle: Melt a contrasting chocolate (e.g., dark chocolate drizzle over white chocolate truffles, or vice versa) and drizzle it artfully for a gourmet look.
- Nuts or Coconut: Finely chopped nuts (almonds, pecans, walnuts) or shredded coconut can add another layer of flavor and texture.
- Candy Melts/Food Coloring: For white chocolate, you can even tint it with oil-based food coloring to create vibrant, custom-colored truffles.
After decorating, return the truffles to the refrigerator until the chocolate coating is fully set. This final chill ensures a firm, non-messy finish.
Expert Tips for Flawless Oreo Truffles Every Time
- Room Temperature Cream Cheese: We can't stress this enough! Softened cream cheese is the secret to a smooth, lump-free truffle base.
- Chill, Chill, Chill: Don't rush the chilling steps. Cold truffle balls are easier to roll, hold their shape better, and dip more cleanly.
- Quality Chocolate: While affordable chocolate works, using higher quality melting wafers or chocolate bars can make a noticeable difference in the smoothness and flavor of your coating.
- Patience with Melting: Chocolate can be fickle. Low heat and frequent stirring are key to preventing burning or seizing.
- Double-Boiler Method: If you're nervous about microwaving chocolate, a double-boiler offers a gentler, more controlled melting environment.
- Storage: Store finished truffles in an airtight container in the refrigerator for up to 2 weeks.
Frequently Asked Questions About Oreo Truffles
Q: Can I freeze these Oreo truffles?
A: Absolutely! Once your truffles are fully set, you can transfer them to an airtight freezer-safe container. They'll keep beautifully in the freezer for up to three months. To enjoy, simply move them to the refrigerator for a few hours to thaw before serving.
Q: What can I use instead of a food processor to crush the Oreos?
A: If you don't have a food processor, place the Oreo cookies in a large, heavy-duty Ziploc bag. Seal it, remove as much air as possible, and use a rolling pin, meat mallet, or the bottom of a heavy pan to crush the cookies into fine crumbs. The finer, the better!
Q: My chocolate seized (became thick and grainy) while melting. What happened?
A: Chocolate seizing usually occurs when it's exposed to even a tiny amount of water or when it's overheated too quickly. To avoid this, ensure all your utensils and bowls are completely dry, and melt chocolate slowly in short intervals, stirring often.
Q: Can I use different types of Oreos?
A: Yes, absolutely! Experiment with different Oreo flavors like Golden Oreos, Mint Oreos, Peanut Butter Oreos, or even seasonal varieties. Each will impart a unique twist to your truffles, making for endless flavor possibilities.
Conclusion
Oreo truffles are more than just a dessert; they’re a delightful expression of simplicity meeting decadence. By mastering the core recipe and exploring the exciting options of oreo truffles two ways with contrasting chocolate coatings, you unlock a world of flavor and presentation possibilities. Whether you opt for the comforting familiarity of milk chocolate or the elegant sweetness of white chocolate, these no-bake wonders are guaranteed to impress and satisfy. So gather your ingredients, unleash your creativity, and prepare to indulge in these utterly irresistible chocolate-covered delights!
